
Create pem private key and Connect Google Cloud Instance form terminal
Google Cloud Platform is a suite of public cloud computing services offered by Google. On google cloud, you can create a server instance and host different project or website there. After creating an instance you can connect Linux instance only from their web-based SSH panel. If you want to connect that instance by your terminal or putty you need to configure instance for that and need a private key or pem file to connect instance.
We are providing step by step guide here to connect your Linux instance form your terminal. We are using the devstudio username for connecting to the server.
Step 1.
First of all, you need a private key or pem file that you will use to authenticate and connect your GCP Linux Instance. To create private key open your terminal and run following command.
# ssh-keygen -t rsa -f ~/[KEY_FILENAME] -C [USERNAME]
ssh-keygen -t rsa -f ~/gcserver -C devstudio
You will be asked for a passphrase, keep it blank and enter. Now you will get two files in your home directory - gcserver and gcserver.pub. Rename gcserver file into gcserver.pem.
Step 2.
If your server IP Address is not static then set your IP as static, otherwise, that will change on restart your server. To convert your IP dynamic to static go in:
Open Google Console -> VPC Network -> External IP Address -> Change type to static and provide a name to this IP Address.
Step 3.
Now open Google Console
-> Compute Engine -> VM Instances -> Click on name of your instance -> Edit
-> In Remote Access Check Enable connection to serial ports.
-> In SSH Keys section click on Show and edit. -> Click on Add Item
You will get the form to fill "Enter entire key data". Now open your gcserver.pub file and copy all content from this file and paste in SSH Keys form.
Now click on the Save button in the bottom and go back by Back arrow button on the top left corner. Now stop and start the Instance.
Step 4.
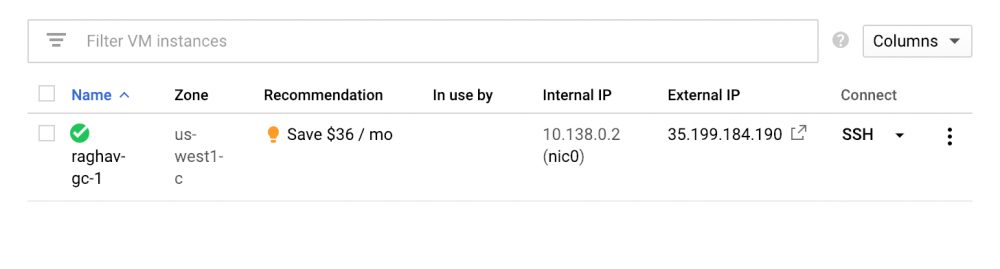
Now you need to connect your instance once from the console. Click on SSH button in your Instance row.
After connecting SSH run following command.
ls /home
You will see the additional username that was given in Step 1. If the username is not available there then create a user with the same username.
sudo adduser devstudio
Provide a name and password.
Now create a directory .ssh in new user home.
sudo mkdir /home/devstudio/.ssh
Now create authorized_keys file and add public key content there.
sudo nano /home/devstudio/.ssh/authorized_keys
Copy gcserver.pub file content and paste in a terminal opened the file and save (Ctrl+o) and exit (Ctrl+x).
Step 5.
Your Google Cloud Instance is now ready to connect with the terminal. In terminal run following command to connect.
ssh -i ~/gcserver.pem devstudio@xx.xx.xx.xx
Use your Google Cloud Instance IP at the place of xx.xx.xx.xx
You will be connected now. If you are facing any issue write comment in the comment section below.